I’m going to share a tried and true Thanksgiving keepsake that has been tested on a group of kids in family child care.
It was a huge hit and the end result has an adorable factor that is off the charts.
The finished product could even be something a child could give to whomever is hosting their Thanksgiving Dinner.
Here is the first one! The other one is coming up in our next Thanksgiving Activity post!
This Thanksgiving keepsake is going to challenge you to go beyond the traditional turkey hand print.
Notice I didn’t say “forgo”, but rather “go beyond”.
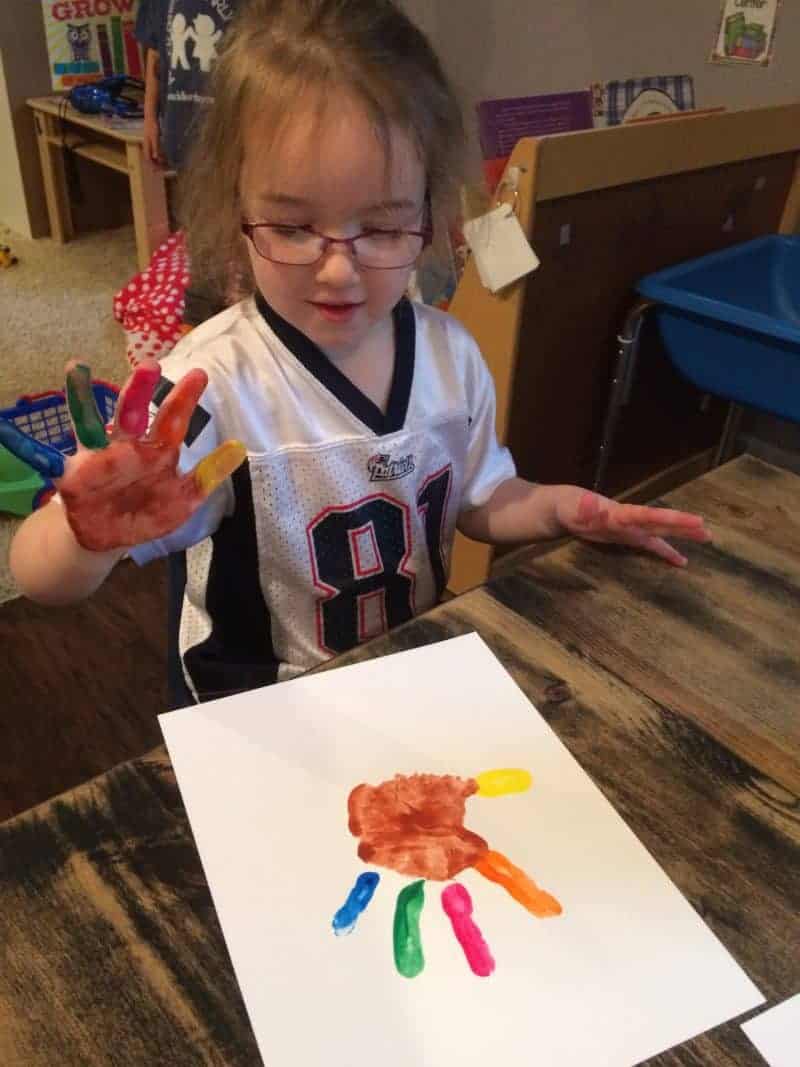
Hand print turkeys make a sweet keepsake!
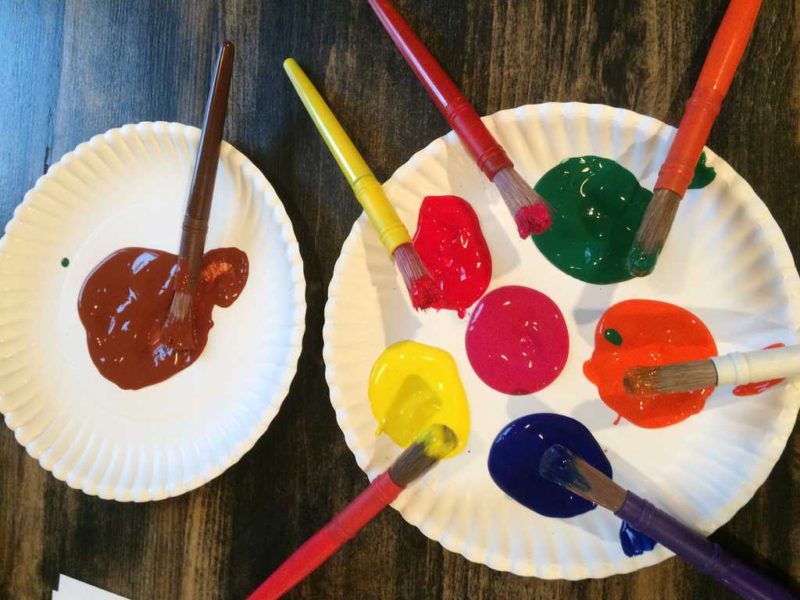
I loved pulling kids aside to help them paint their little fingers and palms to look like a turkey.
The ticklish ones would giggle, while the others would chat about where they are going for Thanksgiving and direct me by choosing their color they wanted me to paint the turkey’s feathers (aka their fingers).
It was also a great time to work on color recognition one-on-one.
Let’s chat about something you may have not tried yet with your group!
Clay Turkeys
Supplies You’ll Need:
- Mold-able air-drying clay. Polyform Model Air; Air Dry Modeling Clay. This brand was my favorite and can be found at your local craft store like Michael’s or JoAnne Fabrics. This way you don’t have to futz with baking the clay…just give it a solid few days to air dry. (Pssst. Use a coupon)
- Feathers that have a nice pointy tip on one end of the feather (these can be found in a craft store as well)
- Googly Eyes
How To:
- Show your group a picture of a turkey.
- Point out the turkey’s eyes, body and feathers.
- Give each child a lump of clay and let them create.
- Once the turkey bodies started coming to form, I would spread feathers down the middle of the table and give each child 2 googly eyes.
Sit back and watch.
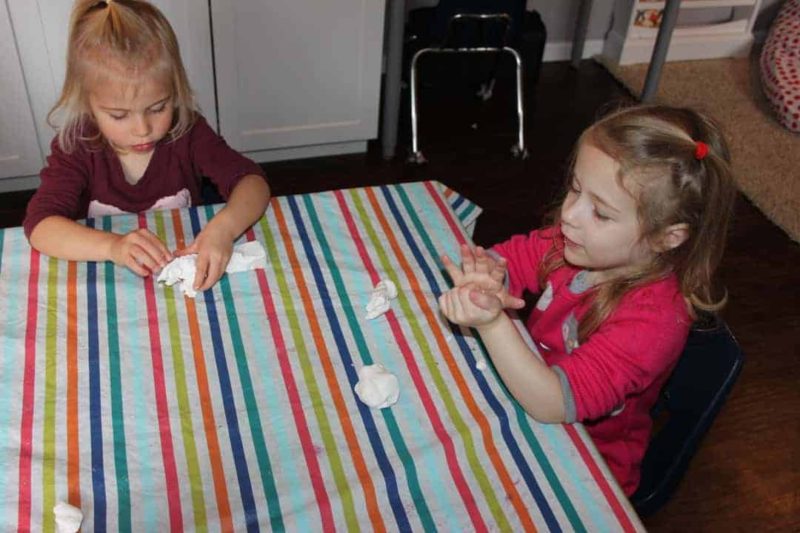
Try to let them work unassisted.
There is on wrong way to make these turkeys.
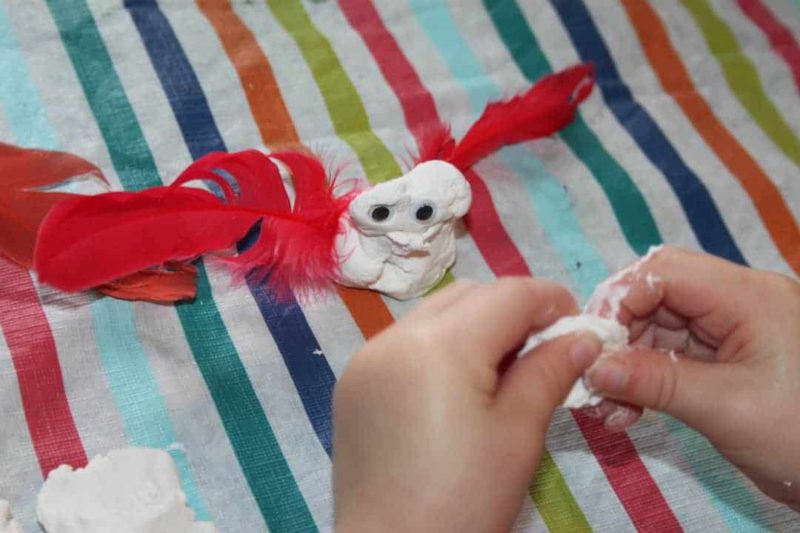
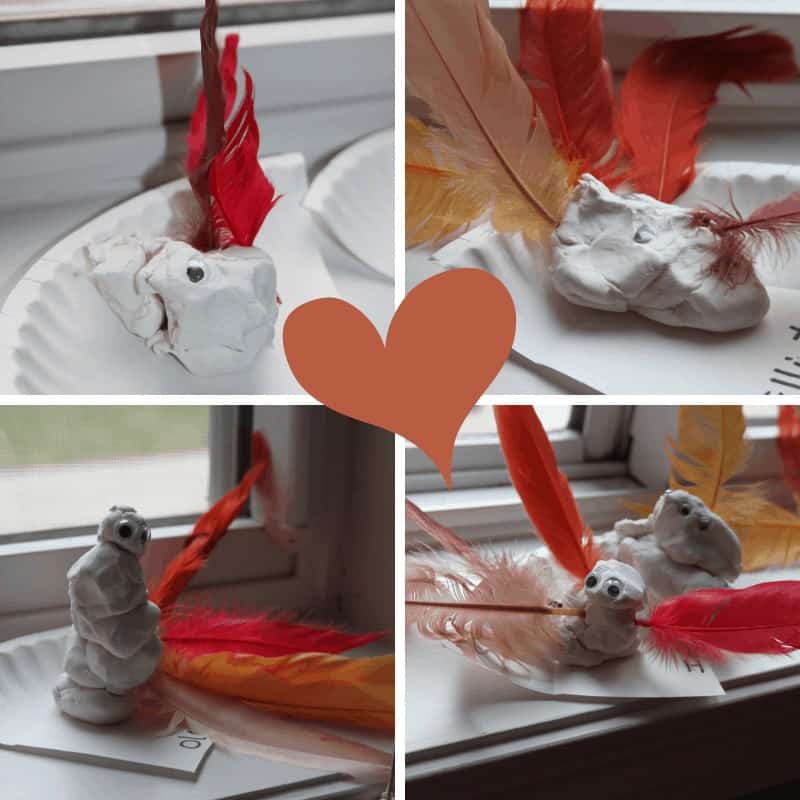
At first they will look like little clay blobs with eyes, but as soon as the kids begin to add feathers, the artwork comes to life.
In fact, the more abstract the turkey, the more endearing the finished product is.
Pro Tips!
- Make these early enough so you can allow enough dry time (a week is best, but 3-4 days will do).
- Cut up a paper plate in quarters and write the child’s name on the plate. This will help you keep each turkey labeled without writing on the clay project.
- If a turkey is having trouble keeping it’s eyeballs in place, use a little bit of glue to secure them.
- Don’t forget to share the attributes regarding the WHY behind this project using SHOOT. SHARE. INFORM.
 Hey there! I hold the work of early childhood educators (my title for family child care providers) in the highest regard! If you are looking for ways to better your business or to find inspiration to bring joy and meaning to your classroom, then you've come to the right place! Click here to read more!
Leave a Reply